
User Guide
Master Note Manager to document your project without leaving Unity.
Open Note Manager
Section titled “Open Note Manager”From the Unity menu
Section titled “From the Unity menu”Navigate to Tools > Latin Tools > Note Manager in the editor top bar.

Welcome page
Section titled “Welcome page”This screen appears when the Show at startup option is enabled.

To access Note Manager, click the corresponding icon on that screen.
Create notes
Section titled “Create notes”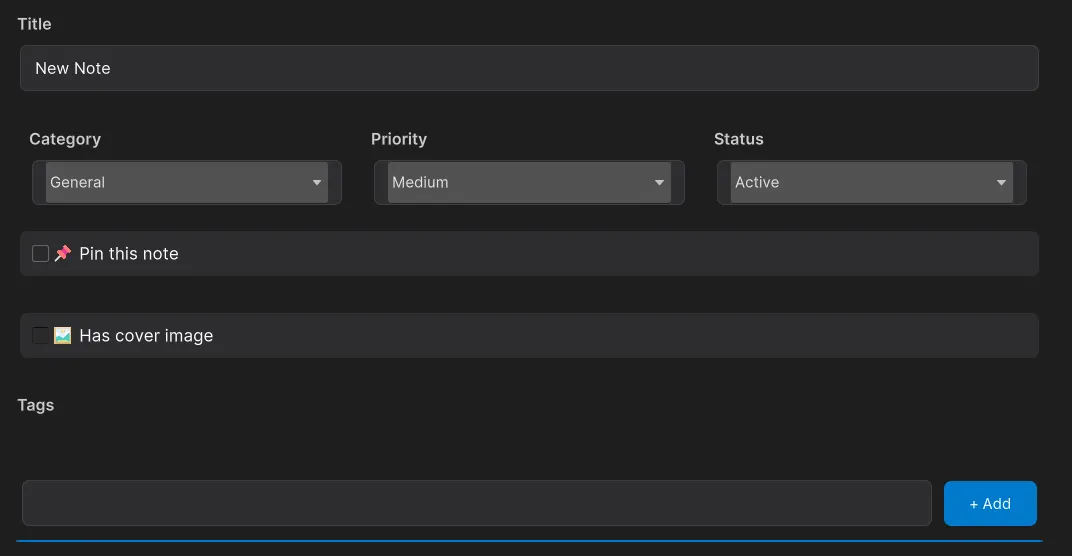
New note
Section titled “New note”- Click the New Note button in the toolbar.
- Fill in the main fields:
- Title: note name.
- Category: Code, Design, Task, Bug, Idea, or Documentation.
- Priority: Low, Medium, High, or Critical.
- Status: Active, Completed, Archived, or On Hold.
- Add optional Tags by typing and pressing Enter.
- Write content using Markdown syntax.
- Press Save to store the note.
Add images
Section titled “Add images”
- Click Add Images inside the editing panel.
- Select one or multiple images.
- Images will appear in a horizontal gallery.
- Click an image to view it fullscreen.
- Use right-click for image options (view/remove).
Add asset references
Section titled “Add asset references”
- Drag assets from the Project window into the note.
- Or use Add Asset Reference to find them manually.
- Supported types: Prefabs, Scripts, Materials, Scenes, Audio, and more.
- Assets are shown as cards with type icons.
- Click to select in Project, double-click to open.
Cover image
Section titled “Cover image”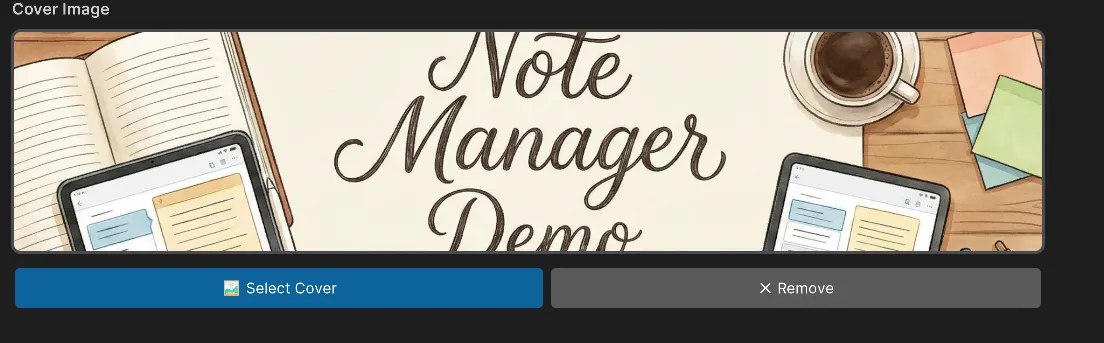
- Set a cover image as an overlay in the metadata section.
- Select it with Set Cover Image.
- It appears with reduced opacity to preserve readability.
View notes
Section titled “View notes”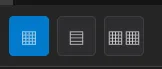
View modes
Section titled “View modes”- Grid View: compact cards with thumbnail and key information.
- Card View: larger cards with full metadata.
You can switch modes from toolbar buttons.
Reading panel
Section titled “Reading panel”- Click a note to open it in fullscreen reading mode.
- Formatted Markdown with attached media is rendered.
- Metadata is shown in a compact horizontal layout.
- From the toolbar you can edit, pin, or delete the note.
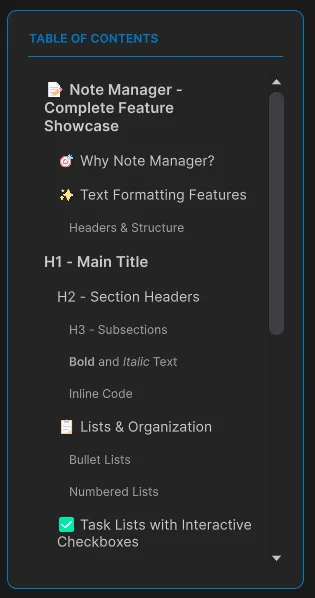
Table of contents (TOC)
Section titled “Table of contents (TOC)”
Suggested path: /src/assets/imgs/Note Manager/NM_09_TOCButton.png
- In reading mode, press TOC.
- The table is generated automatically from Markdown headers (H1, H2, H3).
- Click any heading to jump to that section.
- The TOC remains visible in the sidebar for quick navigation.
- Long content scrolls vertically without losing context.
Markdown support
Section titled “Markdown support”You can use the most common Markdown blocks directly in the editor.
# Heading 1## Heading 2### Heading 3**Bold text***Italic text*`Inline code`[Link text](url)- Item* Another item1. First item2. Second item
- [ ] Pending task- [x] Completed task```csharppublic class Example { void Start() { }}```| Header 1 | Header 2 ||----------|----------|| Cell 1 | Cell 2 || Cell 3 | Cell 4 |OpenNote component
Section titled “OpenNote component”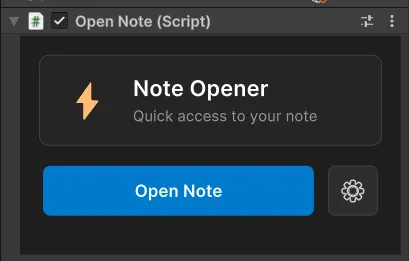
The OpenNote component lets you link notes to GameObjects and open them directly from the scene.
Scene setup
Section titled “Scene setup”- Select a GameObject in the scene.
- Go to Add Component > Latin Tools > OpenNote.
- The inspector will show the Open Note Manager button.
Assign a note to the component
Section titled “Assign a note to the component”- Open the Note Manager window.
- Find the note you want to link.
- Right-click on the card.
- Choose Assign to OpenNote Component.
- Select the OpenNote component in the Inspector.
- The note ID will be linked to that GameObject.
OpenNote as a project asset
Section titled “OpenNote as a project asset”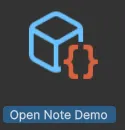
You can also create a reusable asset:
- Create an asset from Create > Latin Tools > Open Note.
- Configure it to open a specific note.
- Use it as a reusable link to important documentation.
Content preview
Section titled “Content preview”Toggle Preview
Section titled “Toggle Preview”While editing, press Preview to:
- See Markdown rendered in real time.
- Validate lists, tables, and code blocks.
- Review image rendering.
- Verify links and formatting.
Return to edit mode to continue writing.
Quick Insert Panel
Section titled “Quick Insert Panel”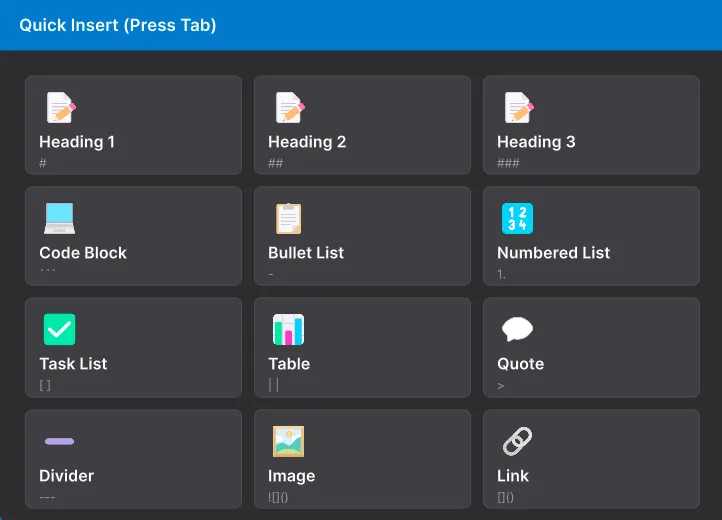
Use Quick Insert (when available) to:
- Insert frequent Markdown syntax.
- Add table and code block templates.
- Speed up structured content creation.
Keyboard shortcuts
Section titled “Keyboard shortcuts”| Shortcut | Action |
|---|---|
Ctrl + F | Open search bar |
Esc | Hide search bar |
Enter | Go to next result |
Tab (edit mode) | Open Quick Insert tool |
Quick troubleshooting
Section titled “Quick troubleshooting”- If a note does not appear, check active filters (category, status, tags).
- If a referenced asset does not respond, verify it exists and has not been moved.
- If Markdown rendering looks incomplete, toggle between Edit and Preview.
- If search does not return expected results, verify titles and tags.
Support
Section titled “Support”For support, reports, or feature requests:
- Support: soportelatintechnology@gmail.com
- Contact: https://www.latin-tools.com/contact